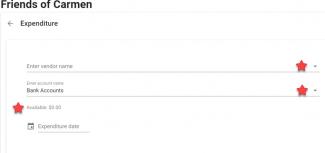
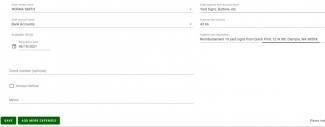
On the ORCA expenditure screen you can view your current available cash on hand balance. You'll be able to use an Add More Expenses button to quickly enter several expense items into one expenditure transaction. Also note the drop-down arrows for vendor names, bank accounts, and expense item account names.
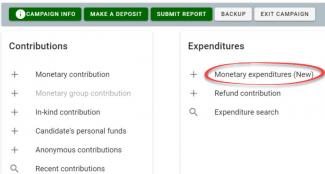
You are now in the new expenditure transaction screen. Note the available balance and the drop-down features.
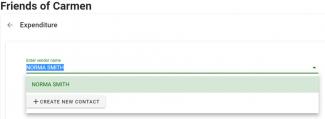
When entering a vendor name, the name prepopulates if it is contained in your contacts list. If not, click +Create New Contact to enter a new vendor name.
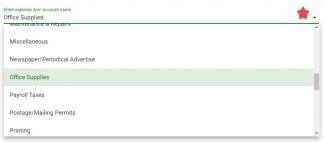
When entering the Account Name and the Expense Item Account name, use the dropdown arrows for your choices.
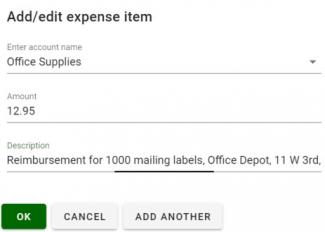
Enter the expense item amount and the expense item description here. Once you have finished entering all the information and you have no other expenses to add, click the green SAVE button.

Sometimes an expenditure item has many expenses within it. A green Add More Expenses button makes this smooth sailing. Say you are writing a reimbursement check to a campaign volunteer to reimburse her for purchases she made during the day. Create a monetary expenditure with the first expense she made. Once done, click the green Add More Expenses button.
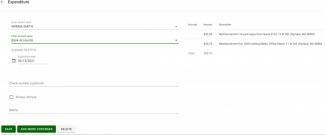
Continue to click Add More Expenses until you are done entering expenses. Click OK to view the main expenditure transaction and the total amount of the transaction.
Click SAVE to finish the transaction.
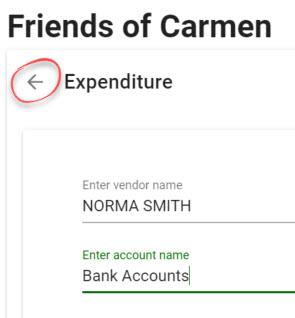
To return to the main ORCA page of your campaign, click the arrow next to Expenditure.
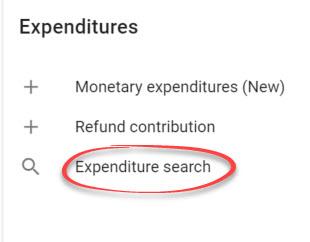
When you need to search through the entered expenditures, click on Expenditure Search.
A list of your expenditures appears. Clicking on one of them opens it up so you can amend or delete it if necessary. Note the + Expenditure button to quickly add a new expenditure transaction.
